How to install a counter-current swimming turbine?
All our turbine models are delivered with a technical manual that will help the installer understand how to attach the turbine to the masonry and how to electrically connect the turbine to your electrical network.
SWIMEO turbines are easy to install and require installation time from 1 hour (for Swimeo S) to 3 hours (for Swimeo X).
Installing a SWIMEO turbine takes place at the end of your construction project. The Swimeo S model is particularly suitable for existing pools. For the Swimeo X model, more planning is required because it is necessary to build a masonry niche.
Is it compatible with my pool?
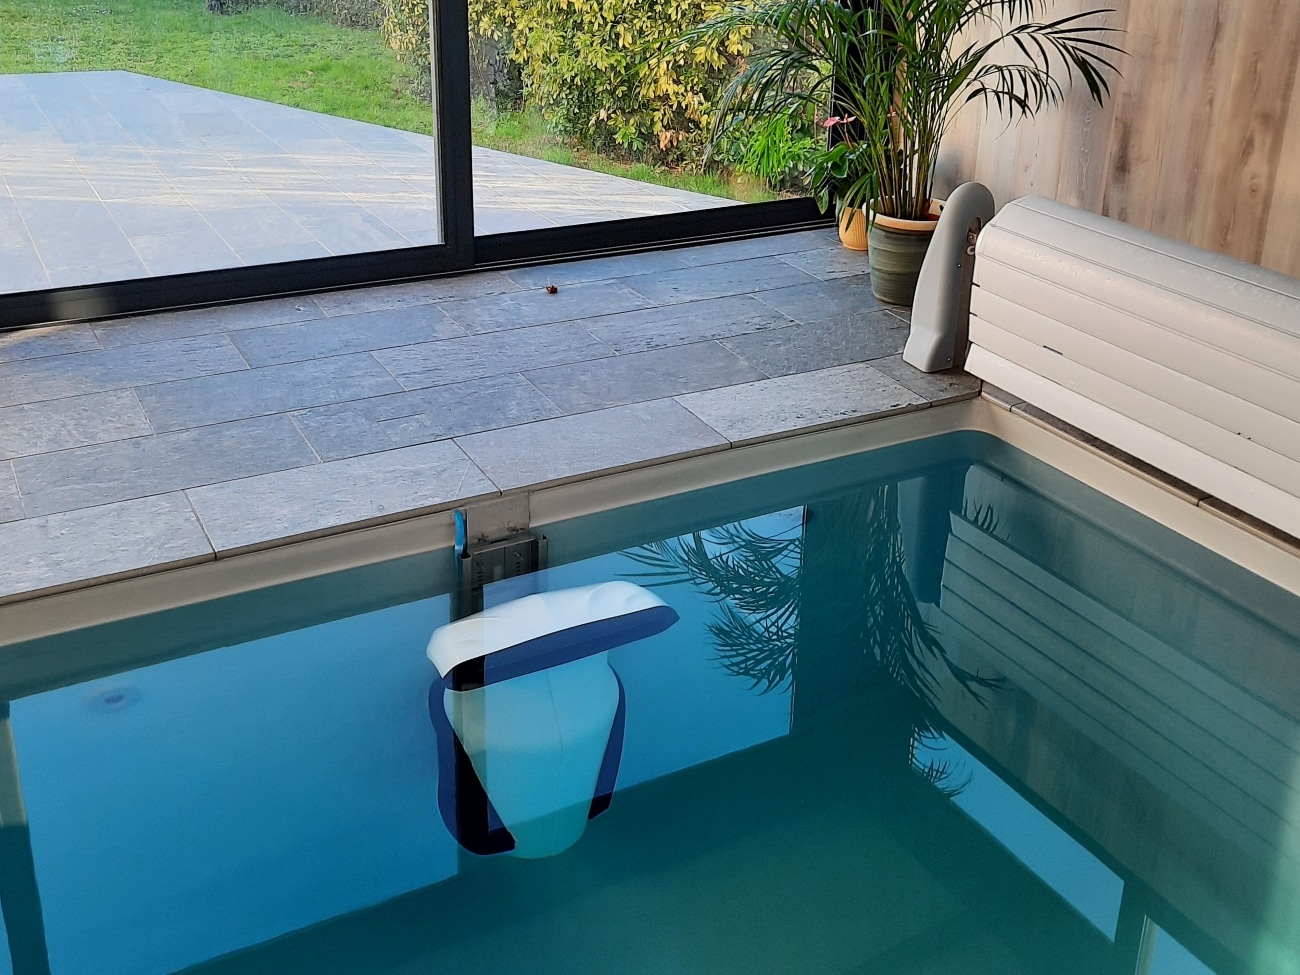
Swimeo requires a minimum water depth of 1.10m for the SWIMEO S and 1.20m for the SWIMEO X, as well as a vertical wall at the location of the turbine.
A Swimeo counter-current swimming installation is a clever solution for

Where to place the turbine in my pool?
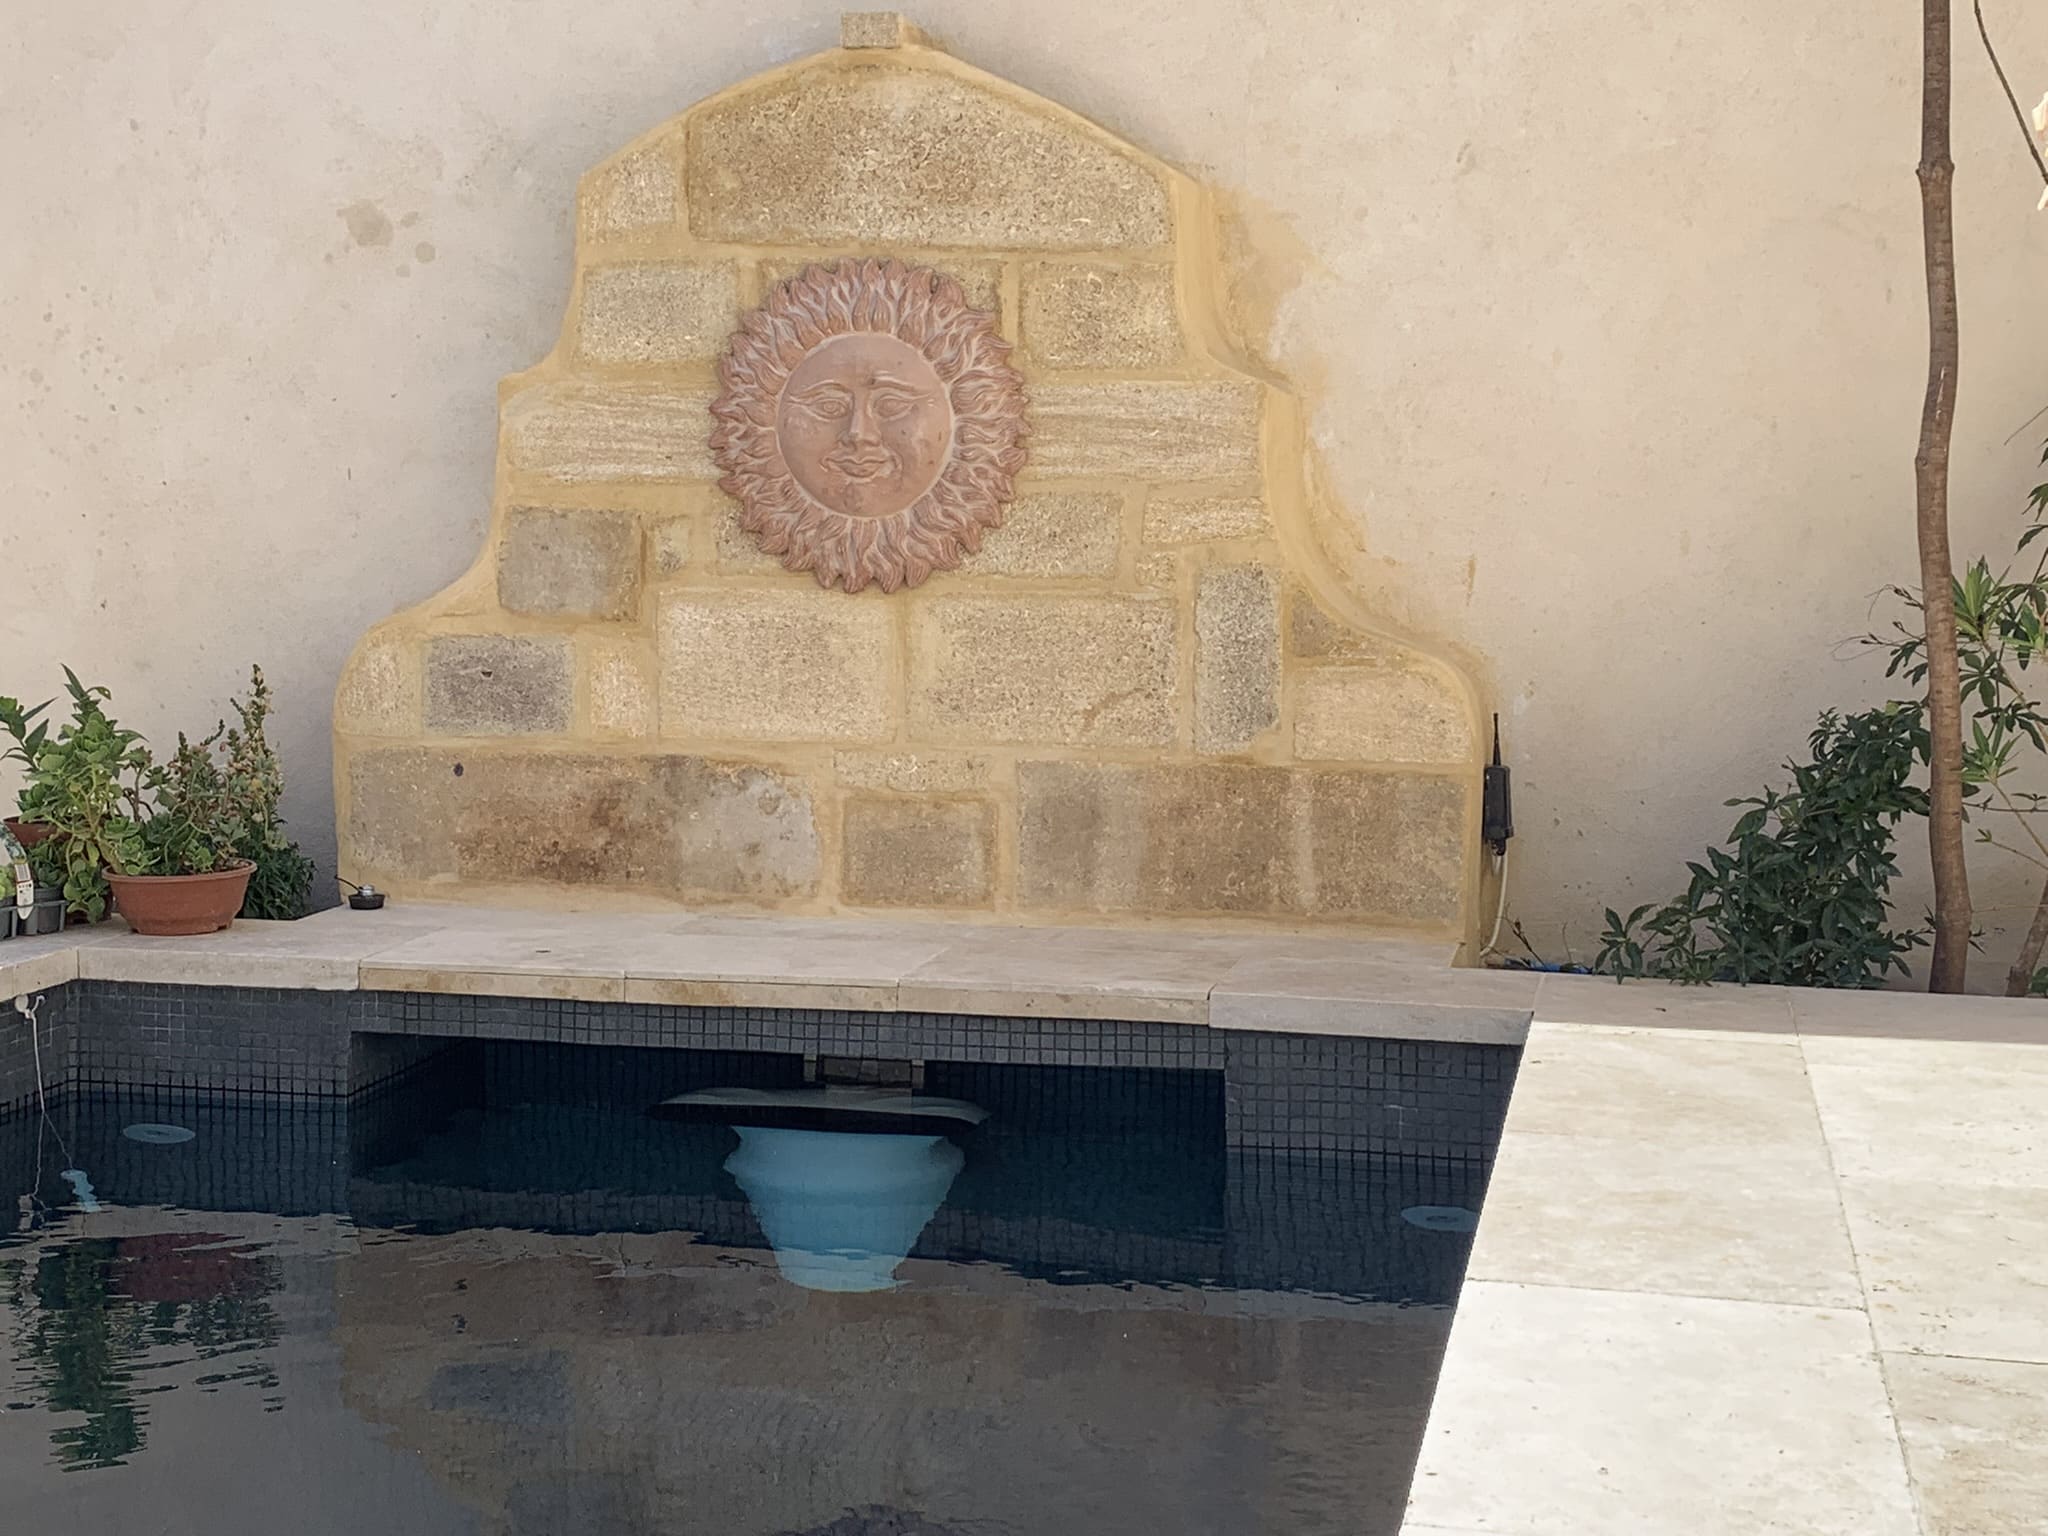
The structure should ideally be positioned on the opposite side of the skimmers, so that impurities are automatically directed to the filtration system. Then, the location depends on the shape of your pool:
- for a rectangular pool, prefer a placement on the width;
- for an oval or kidney-shaped configuration, place the turbine at one of the ends of the oval or kidney;
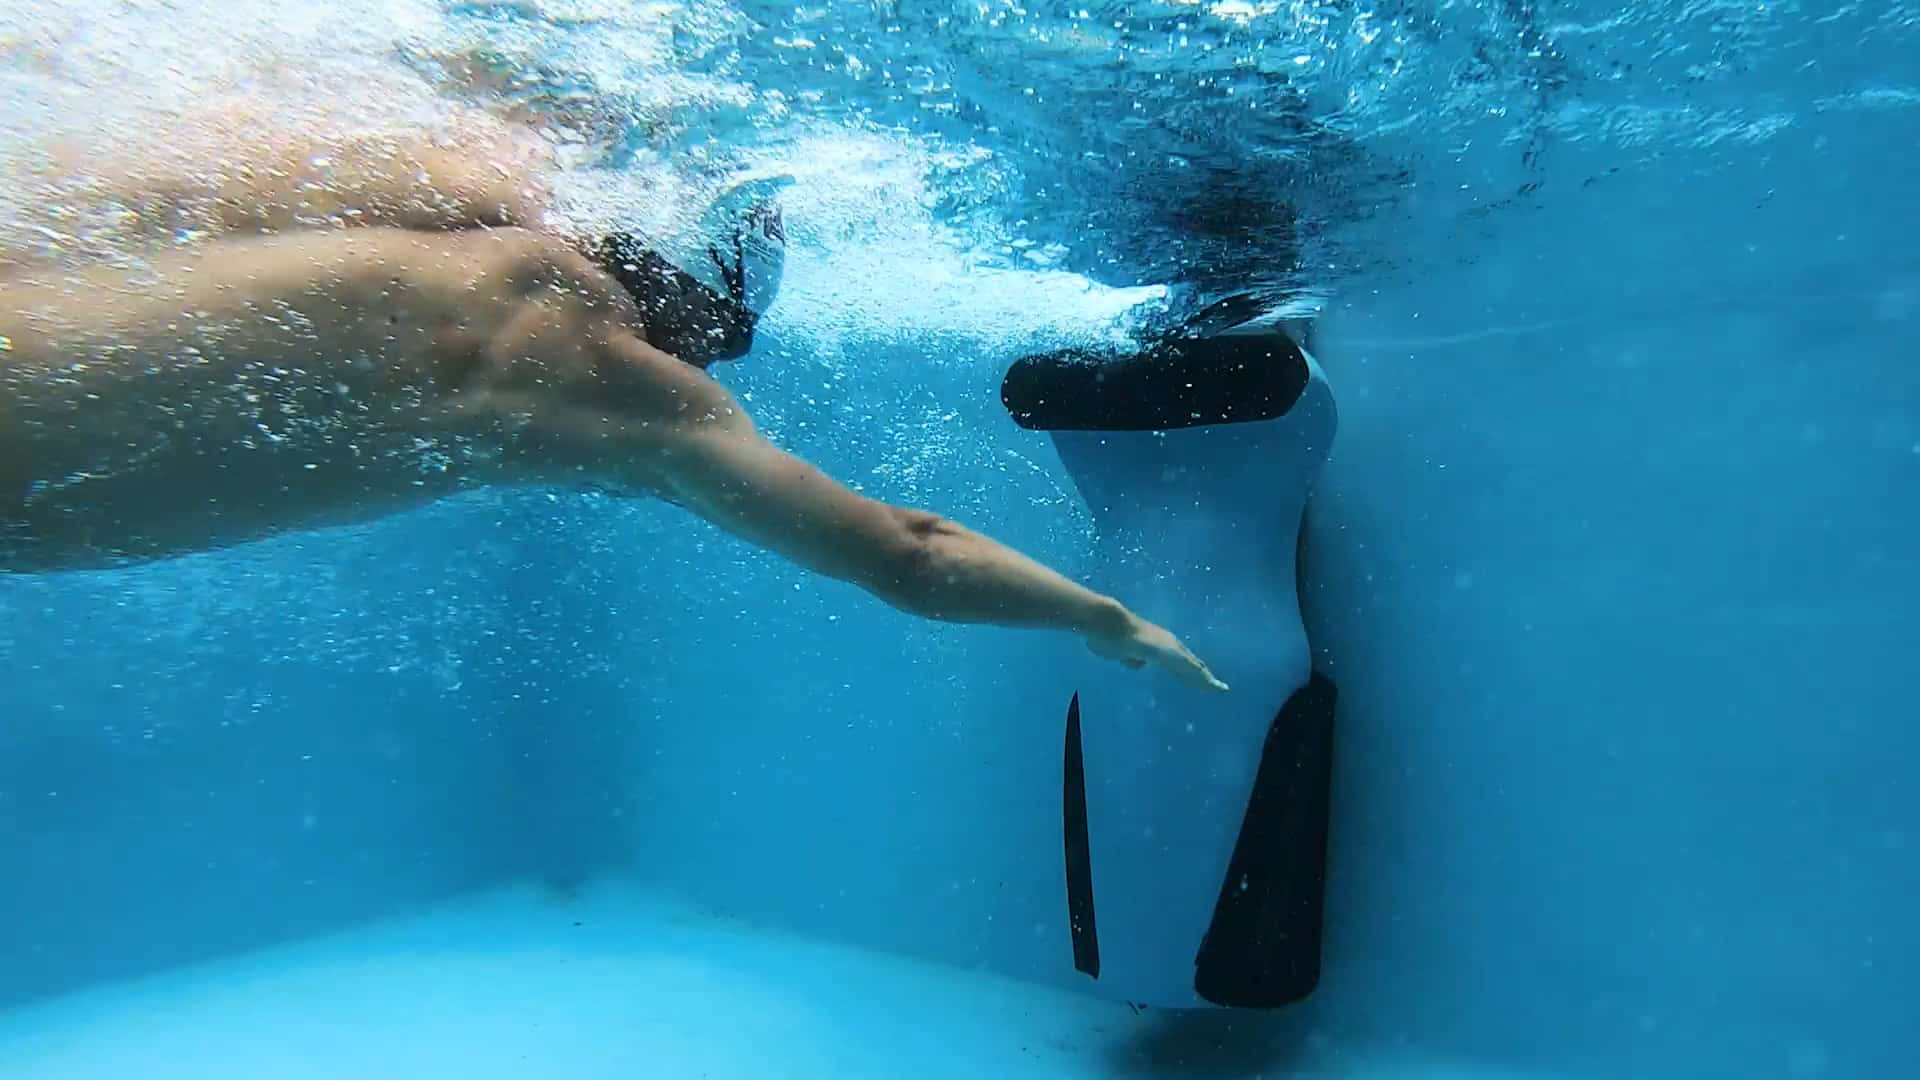
Whatever the shape of your pool, it is essential to have at least 1.05m of water to fully submerge the turbine.

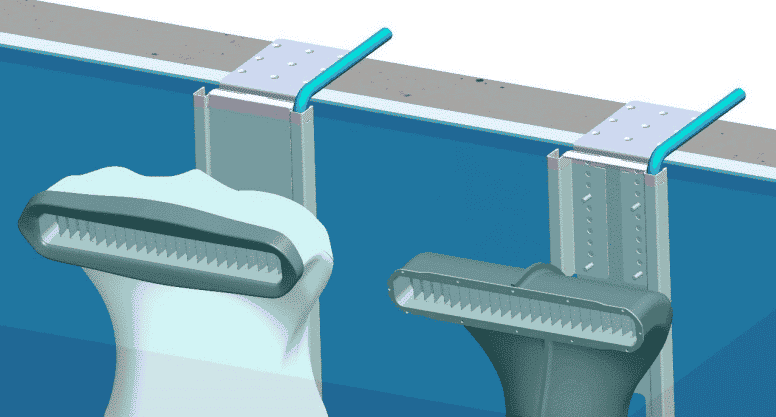
Right-angle mounting plate (Swimeo S and X)
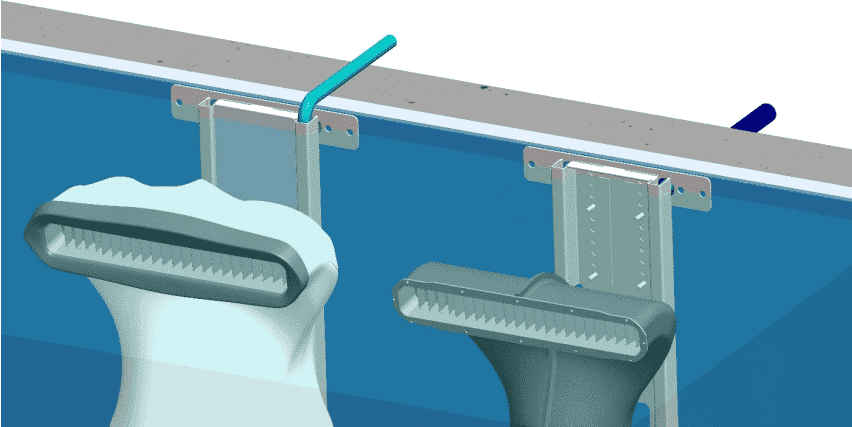
Straight mounting plate (Swimeo S only)
How is Swimeo electrically powered?
Since the turbine is fully submerged in water, regulations require that the motor operates on low voltage (24V). To ensure current conversion, SWIMEO is delivered with an electrical supply box to be installed in the pool house. It will be necessary to connect the box to the turbine with a cable of the appropriate length (not provided).
The section of this cable depends on the distance between the turbine and the box:
- 10mm² for an additional length < 5m
- 16mm² for an additional length > 5m and < 16m
- 20mm² for an additional length > 16m and < 20m
- 25mm² for an additional length > 20m and < 25m
The electrical cable exiting the turbine can pass through several locations:
- Over the edge. The cable is then guided, first in the frame and then in a stainless steel duct (provided with the turbine) placed on the edge.
- Under the edge and above the waterline. Plan for a PVC pipe to route the cable through the wall and liner.
- Under the edge and below the waterline. The cable passes through a suction port (not provided) and a duct that leads to a connection box (not provided).
To learn more about counter-current turbines, read our guide.
Technical manuals are available to help you understand how to install the SWIMEO S and SWIMEO X turbines.

To learn more…
Discover other articles that will answer your questions about Swimeo counter-current swimming.


